Every music producer reaches a critical moment when track consolidation becomes essential. Whether collaborating with mix engineers or prepping for live shows, creating polished audio files from your project ensures flexibility and efficiency. Logic Pro simplifies this process, letting you transform complex sessions into manageable components.
Stems – grouped instrument or vocal layers – differ from single tracks by preserving processing effects. This distinction matters when sharing projects across studios or reducing strain on older computers. Exporting these bundles helps lock creative decisions, preventing endless adjustments that stall progress.
Modern producers benefit from two primary export approaches in Logic Pro. One method prioritizes speed, while the other offers granular control over effects routing. Choosing between wet (processed) and dry (raw) stems depends on your end goal – mixing flexibility or performance-ready material.
Key Takeaways
- Stems combine multiple processed tracks into single audio files for easier sharing
- Exporting reduces CPU load and prevents over-editing during final production stages
- Logic Pro offers flexible routing options for wet or dry stem creation
- Proper stem organization streamlines collaboration with audio engineers
- Choose export methods based on project needs: speed vs. detailed control
Introduction to Bouncing Stems in Logic Pro
Modern music creation demands smart solutions for complex sessions. Stem exporting acts as a bridge between creative experimentation and final execution. This process captures your layered arrangements as consolidated audio files, preserving effects while freeing system resources.
Why Stem Management Transforms Productions
Digital audio workstations thrive on flexibility, but endless tweaking can stall projects. Exporting grouped tracks locks in tempo-synced effects and synth patterns that might shift during playback. Collaborators receive performance-ready material instead of deciphering plugin chains across versions.
Virtual instruments often use randomized parameters to mimic organic behavior. Without consolidation, that perfect piano roll or synth lead might never sound identical again. Creating stems ensures your favorite moments remain intact through mixing and mastering stages.
Workflow Efficiency Meets Technical Relief
Overloaded sessions tax even powerful computers. Grouping drum layers or backing vocals into single files reduces track counts dramatically. This streamlining lets producers focus on creative adjustments rather than system lag.
Organized stems simplify communication with mixing engineers. Clear labels and consistent formats prevent confusion during critical phases. Teams spend less time troubleshooting and more time enhancing the music’s emotional impact.
Regular exporting encourages decisive artistry. When options feel limitless, committing to specific sounds accelerates project completion. This discipline separates hobbyists from professionals in competitive audio landscapes.
Preparing Your Logic Pro Project for Stem Export
A well-organized session forms the backbone of efficient stem creation. Proper setup ensures every element translates accurately when shared or mixed. Start by grouping related audio tracks like drums or vocals into summing stacks or aux channels.
Organizing Tracks and Bus Groups
Logical grouping simplifies navigation and maintains signal flow integrity. Use color-coding and clear naming conventions for quick identification. For example, label rhythm section elements as “DRUMS_MAIN” or “BASS_DI” to avoid confusion during exports.
Bus groups demand extra attention in your project. These routing points won’t export automatically unless converted to tracks. Right-click any bus channel strip and select “Create Track” to include processed group signals in your final stems.
Delete unused or duplicate tracks before exporting. This cleanup prevents empty files from cluttering your workspace. Consistent labeling also helps collaborators instantly recognize content – name files by role (LeadVocal_Dry) rather than vague terms (Audio_01).
Structured sessions benefit both solo producers and teams. Mix engineers appreciate clearly grouped elements, while live performers gain immediate access to essential layers. Invest time upfront to save hours during critical production phases.
Method 1 – Bounce and Replace All Tracks
Time-sensitive projects demand reliable one-click solutions for track consolidation. Logic Pro’s streamlined approach lets you convert entire sessions into performance-ready material within minutes. This technique suits producers needing rapid results while maintaining essential processing details.
Step-by-Step Process in Logic Pro
Navigate to File > Bounce > And Replace All Tracks to initiate the conversion. Three critical settings appear: Bypass Effect Plug-ins preserves raw signals for mixing, while Include Volume/Pan Automation locks spatial adjustments into exported files. Experts often disable normalization unless dealing with unpredictable peaks.
Activating the bypass option creates clean stems ideal for collaborative revisions. Conversely, keeping effects active delivers polished tracks perfect for live sets. Always verify your choices before confirming – this action permanently replaces original tracks with audio versions.
Tips for Managing Exported Audio Files
Create a project duplicate before proceeding. This safety net lets you revisit MIDI arrangements or plugin tweaks later. Organize bounced files using descriptive labels like “SynthPad_Wet” instead of generic terms. New to digital composition? Our guide on how to use the piano in Logic Pro walks you through setup, recording, and editing step by step.
Consolidated stems appear in your track list as new audio regions. Drag these into a dedicated folder within Logic’s workspace for quick access. Regularly purge unused takes to prevent clutter during final mixdowns.
Automation decisions become permanent with this method. Double-check fader movements and pan positions before committing. For complex sessions, consider exporting groups separately to maintain flexibility.
Method 2 – Export All Tracks as Audio Files
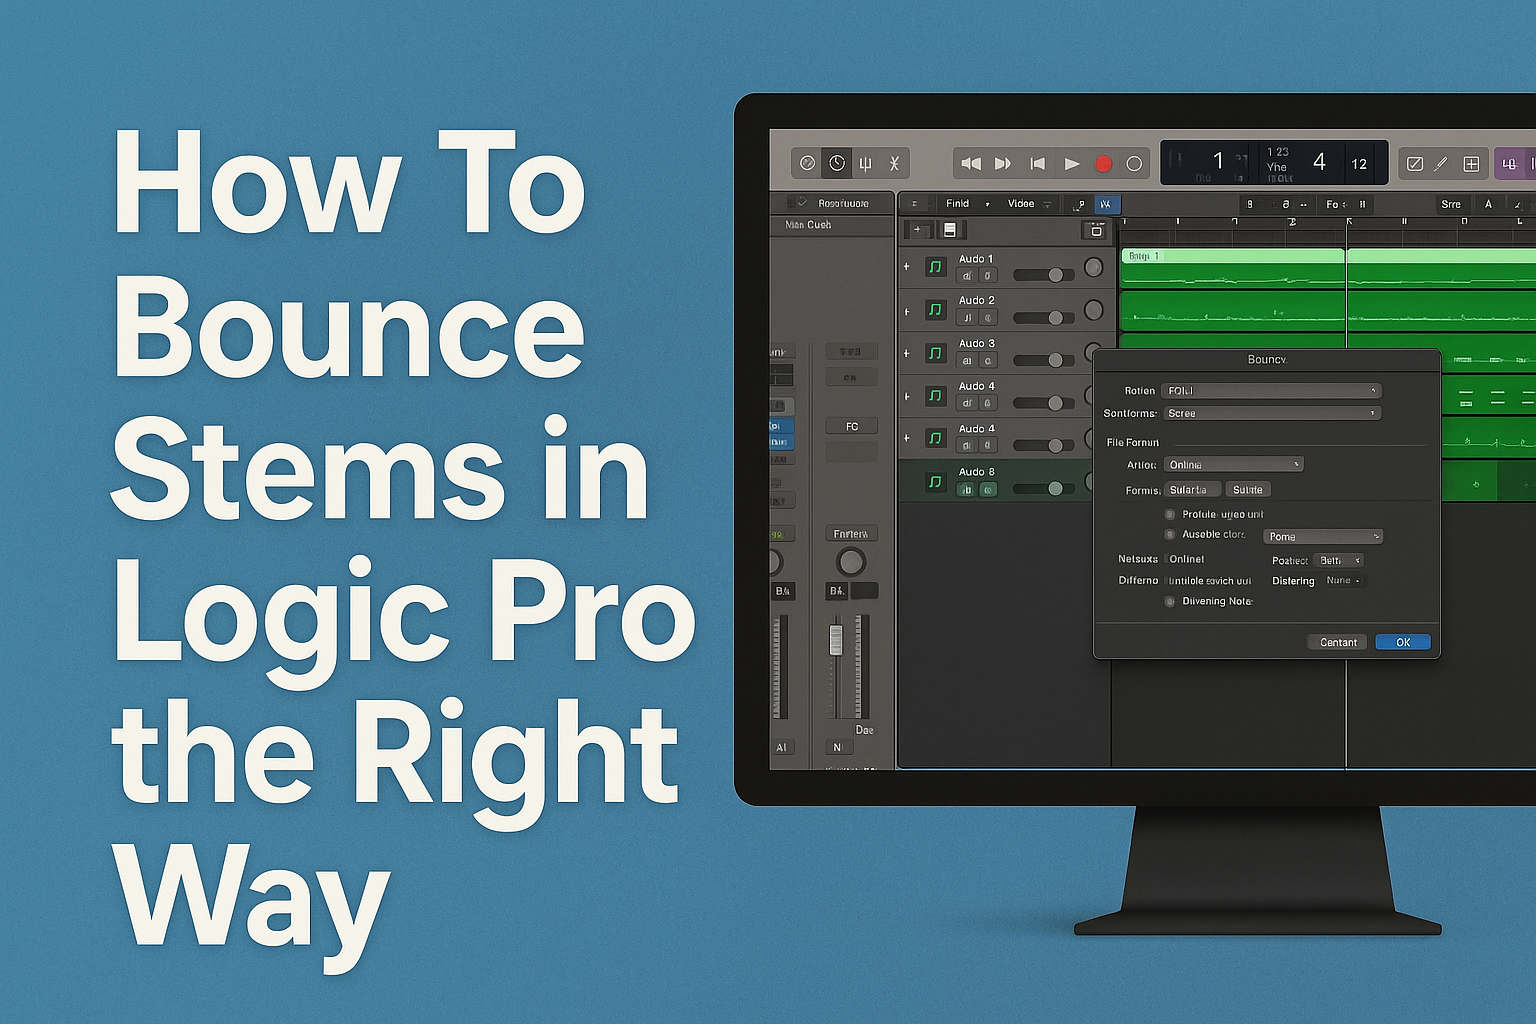
Precision meets flexibility with Logic Pro’s advanced export capabilities. This approach maintains your original session while generating tailored audio files for specialized workflows. Navigate to File > Export > All Tracks as Audio Files to unlock granular control over every aspect of your stems.
Customizing Export Options and Naming Systems
The export dialog reveals critical settings for professional results. Set the Range selector to capture full compositions or specific sections. Producers often pair 24-bit bit depth with WAV formatting for studio-grade quality.
Custom naming templates transform chaotic file lists into organized systems. Combine track names, project codes, and version numbers for instant recognition. “Vocal_Harmony_ProjectX_v3” tells collaborators exactly what they’re hearing.
Logic Pro users frequently ask how to bounce all stems in logic for exporting individual track elements for mixing and collaboration. Understanding logic pro bounce stems and how to bounce stems logic helps producers create professional stem packages for remixing and post-production workflows.
Creating and Managing Destination Folders
Click the New Folder button during export to establish dedicated storage. Keep exported files within your project directory for easy archiving. Structure subfolders by date or stem type – “2024-07_Drums” beats “Untitled_Folder_23”.
Handling Automation, Bit Depth, and File Format Settings
Enable Include Automation to bake in dynamic changes during export. For multi-output instruments, activate the corresponding option to separate kick from snare or synth layers. One producer notes:
“24-bit WAV files preserve every nuance – it’s like handing someone your original session in a box.”
Final checks ensure compatibility across systems. Verify sample rates match collaborators’ requirements. Double-check folder permissions to prevent access issues during file transfers.
how to bounce stems in logic
Speed becomes your greatest ally when finalizing tracks for collaborators or performances. Logic Pro’s keyboard shortcuts transform tedious menu diving into fluid, muscle-memory operations that preserve creative momentum.
Setting Up the Correct Bounce and Export Commands
Two primary commands handle most stem creation needs. Command+B activates the bounce dialog for full mixes or selected sections. Producers often pair this with track soloing to isolate specific elements like lead vocals or drum groups.
The Command+E shortcut exports individual channels as separate audio files. This method shines when needing dry synth layers or unprocessed guitar takes for remixing. Always verify your volume pan automation and effect states before executing these commands.
Utilizing Key Commands and Workflow Shortcuts
Customize Logic’s key commands through Logic Pro > Settings > Key Commands. Assign frequently used functions like “Export Track As Audio File” to unique combinations. One producer shares:
“Mapping my stem exports to F keys cut my session prep time by half during live show rehearsals.”
- Create project templates with pre-configured export settings
- Use color-coding to identify tracks needing special processing
- Enable “Add to Project” during exports for immediate file access
These techniques ensure your exported files maintain consistency across multiple versions. Proper setup lets you focus on artistic decisions rather than technical hurdles.
Optimizing Your Stems for Mixing and Live Performance
Crafting professional-grade stems requires knowing when to preserve effects versus offering raw material. Your export choices directly impact collaborators’ workflow and final results. Let’s explore how different approaches serve distinct creative goals.
Dry vs Wet Stem Exports Explained
Wet stems capture your complete vision – reverbs, delays, and EQ shine through. These files let mixing engineers hear your intended vibe while retaining adjustment options. Live performers rely on them to mirror studio recordings during shows.
Dry stems strip away processing for maximum flexibility. Engineers reshape sounds without fighting existing effects. This approach works best when paired with detailed notes about your preferences.
“I always send wet stems for concerts – audiences expect that polished album sound through the PA system.”
Use Logic Pro’s bypass effect plugins option strategically. Uncheck it for wet exports to bake in your mix decisions. Activate the setting when creating dry versions for clean slate adjustments.
Many producers send stems in both formats. Label folders clearly as “Processed_Vocals” or “Raw_Synths” to avoid confusion. This dual approach balances creative control with collaborative possibilities.
For live setups, include volume pan automation in your exports. These spatial details help recreate immersive listening experiences on stage. Always test stems in performance contexts before major events.
Whether you want export flexibility or consistency, understanding these options elevates your work. Match your choices to each project’s needs – studio mixes often demand different treatments than festival-ready tracks.
Conclusion
Mastering stem creation marks a turning point in professional music production. This essential discipline transforms your workflow through organized audio files that preserve creative choices. Producers who always bounce during final stages gain concrete project versions immune to software randomness.
Both export methods serve distinct purposes. Quick consolidations maintain momentum, while detailed routing options empower studio collaborations. Choosing between them depends on whether speed or precision drives your current phase.
Consistent stem practices build trust with engineers and performers alike. Wet exports showcase your sonic vision, while dry alternatives invite creative reinterpretation. Labeling clarity prevents misunderstandings during high-pressure sessions.
As you learn Logic Pro deeper, these techniques become second nature. They form pillars of efficient project management – from bedroom studios to festival stages. Your future self will thank you for adopting this career-changing habit.